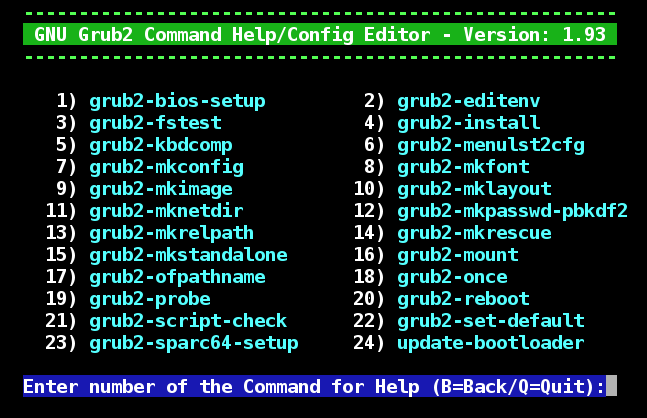
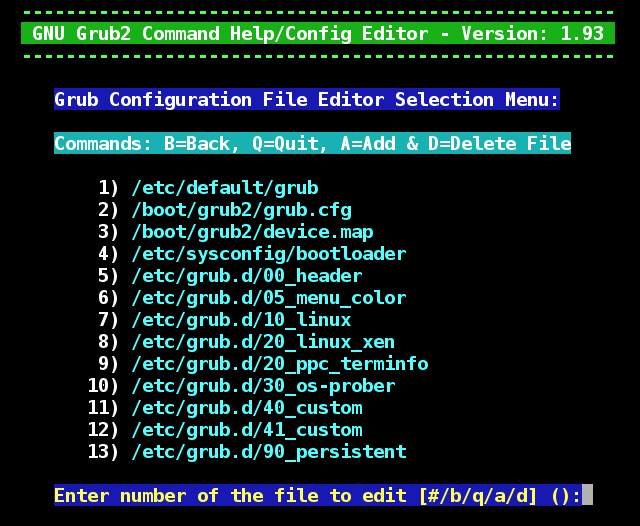
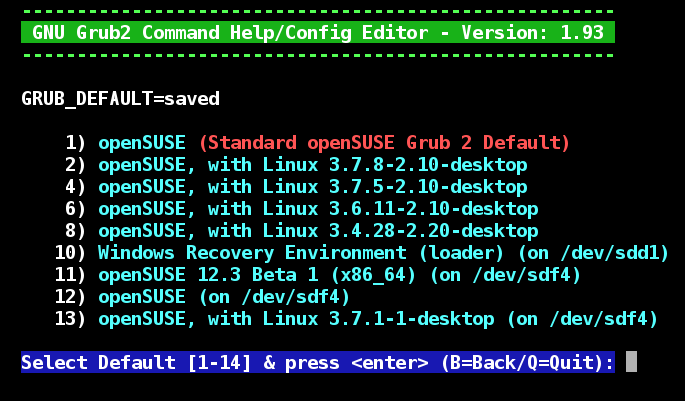
Ok now, this was borrowed/stolen from a:
Debian Ubuntu Linux Solutions Blog
We are starting to see this in our new openSuSE versions.
Also Refer: Grub2 Tutorial
Purpose: Since the next generation of GRUB,
GRUB2, is slowly trickling down to all major Linux distribution, I thought about writing a basic post
regarding GRUB2, which discusses some of the fundamental change in GRUB2. Also the documentation on GRUB2 is
not very extensive at this point of time. I am assuming that you have already
upgraded
to GRUB2. If you are looking for how to install splashimages in GRUB2, see
this
post.
To begin with, the following files and directories are important to us:
					/boot/grub/grub.cfg (/boot/grub/menu.lst file in old GRUB)

					/etc/default/grub

					/etc/grub.d/
Also the commands:
					update-grub2 (update-grub in old GRUB)

					grub-mkconfig (Recommended)
are also very important if we really want to customize GRUB2 menu.
Note 1: Never edit the file/boot/grub/grub.cfg
Do not edit this file manually. Do not open the file in a text editor and start editing the entries.
You might be tempted to do this but in the long run you are bound to face problems. This file basically
constructs how your GRUB2 screen looks like when you boot your system:

This file is auto generated by the following command:
/usr/sbin/grub-mkconfig
and the following file:
/etc/default/grub
and templates/files from the following directory:
/etc/grub.d/
Note 2: Use grub-mkconfig instead of update-grub
For those of you who are use to using update-grub in the legacy version of GRUB,
you should use
grub-mkconfig
If you use:
update-grub2
then you will see warnings like the following:
Warning: update-grub_lib is deprecated, use grub-mkconfig_lib instead
Note 3: Partition numbering
In previous version of GRUB, we use to refer to a partition with partition number - 1.
In GRUB2, we simply refer to the partition with the same number. For example, in GRUB, the following
were the mappings:
					/dev/hda1 - (hd0,0)

					/dev/hda5 - (hd0,4)

					/dev/hdb2 - (hd1,1)
However in GRUB2, the above translates to:
					/dev/hda1 - (hd0,1)

					/dev/hda5 - (hd0,5)

					/dev/hdb2 - (hd1,2)
I personally think that it is a very good change.
Note 4: Adding a custom entry
You can add a custom boot entry in your GRUB2 menu in two ways:
Method 1:
					apt-get install os-prober

					os-prober

					grub-mkconfig
Basically, the os-prober will detect any additional Operating Systems that are installed on your
hard drive and will list them at the end. Also I think it adds the respective entries in the file:
/etc/grub.d/30_os-prober
I have not tried this method. If you do try and find problems please post it in the comment section
and I will correct it.
Method 2:
Edit the file:
nano /etc/grub.d/40_custom
and add the entries like the following (example only):
					#! /bin/sh -e

					echo "Adding Windows" >&2

					cat << EOF

					menuentry "

					Windows XP" {

					set root=(hd0,1)

					chainloader +1

					}

					EOF
and give the following command:
update-grub2
That's it!
Hopefully this post has given you enough basic to start your exciting GRUB2 journey.
 Fig. 1
 Fig. 2
 Fig. 3
 Fig. 4
